As an administrator, via Ringotel Shell admin portal, you can create and manage users, PBX connections and subscriptions. Ringotel Shell utilizes existing configuration on your PBX and doesn’t require any additional settings. An exception will be if your PBX works behind NAT firewall. In this case, you might need to allow incoming connections from a range of IP addresses that belong to Ringotel Shell servers. Please refer to Configure NAT firewall to work with Ringotel Shell for more details.https://www.youtube.com/embed/YWu3_v3JooU
Step 1. Create an organization.
When you first log in to the admin portal, first thing what you need to do is to create an organization. It typically represents a particular company and could hold one or more PBX connections, organizing users from all connection in one place. As a reseller, you can create multiple organizations.
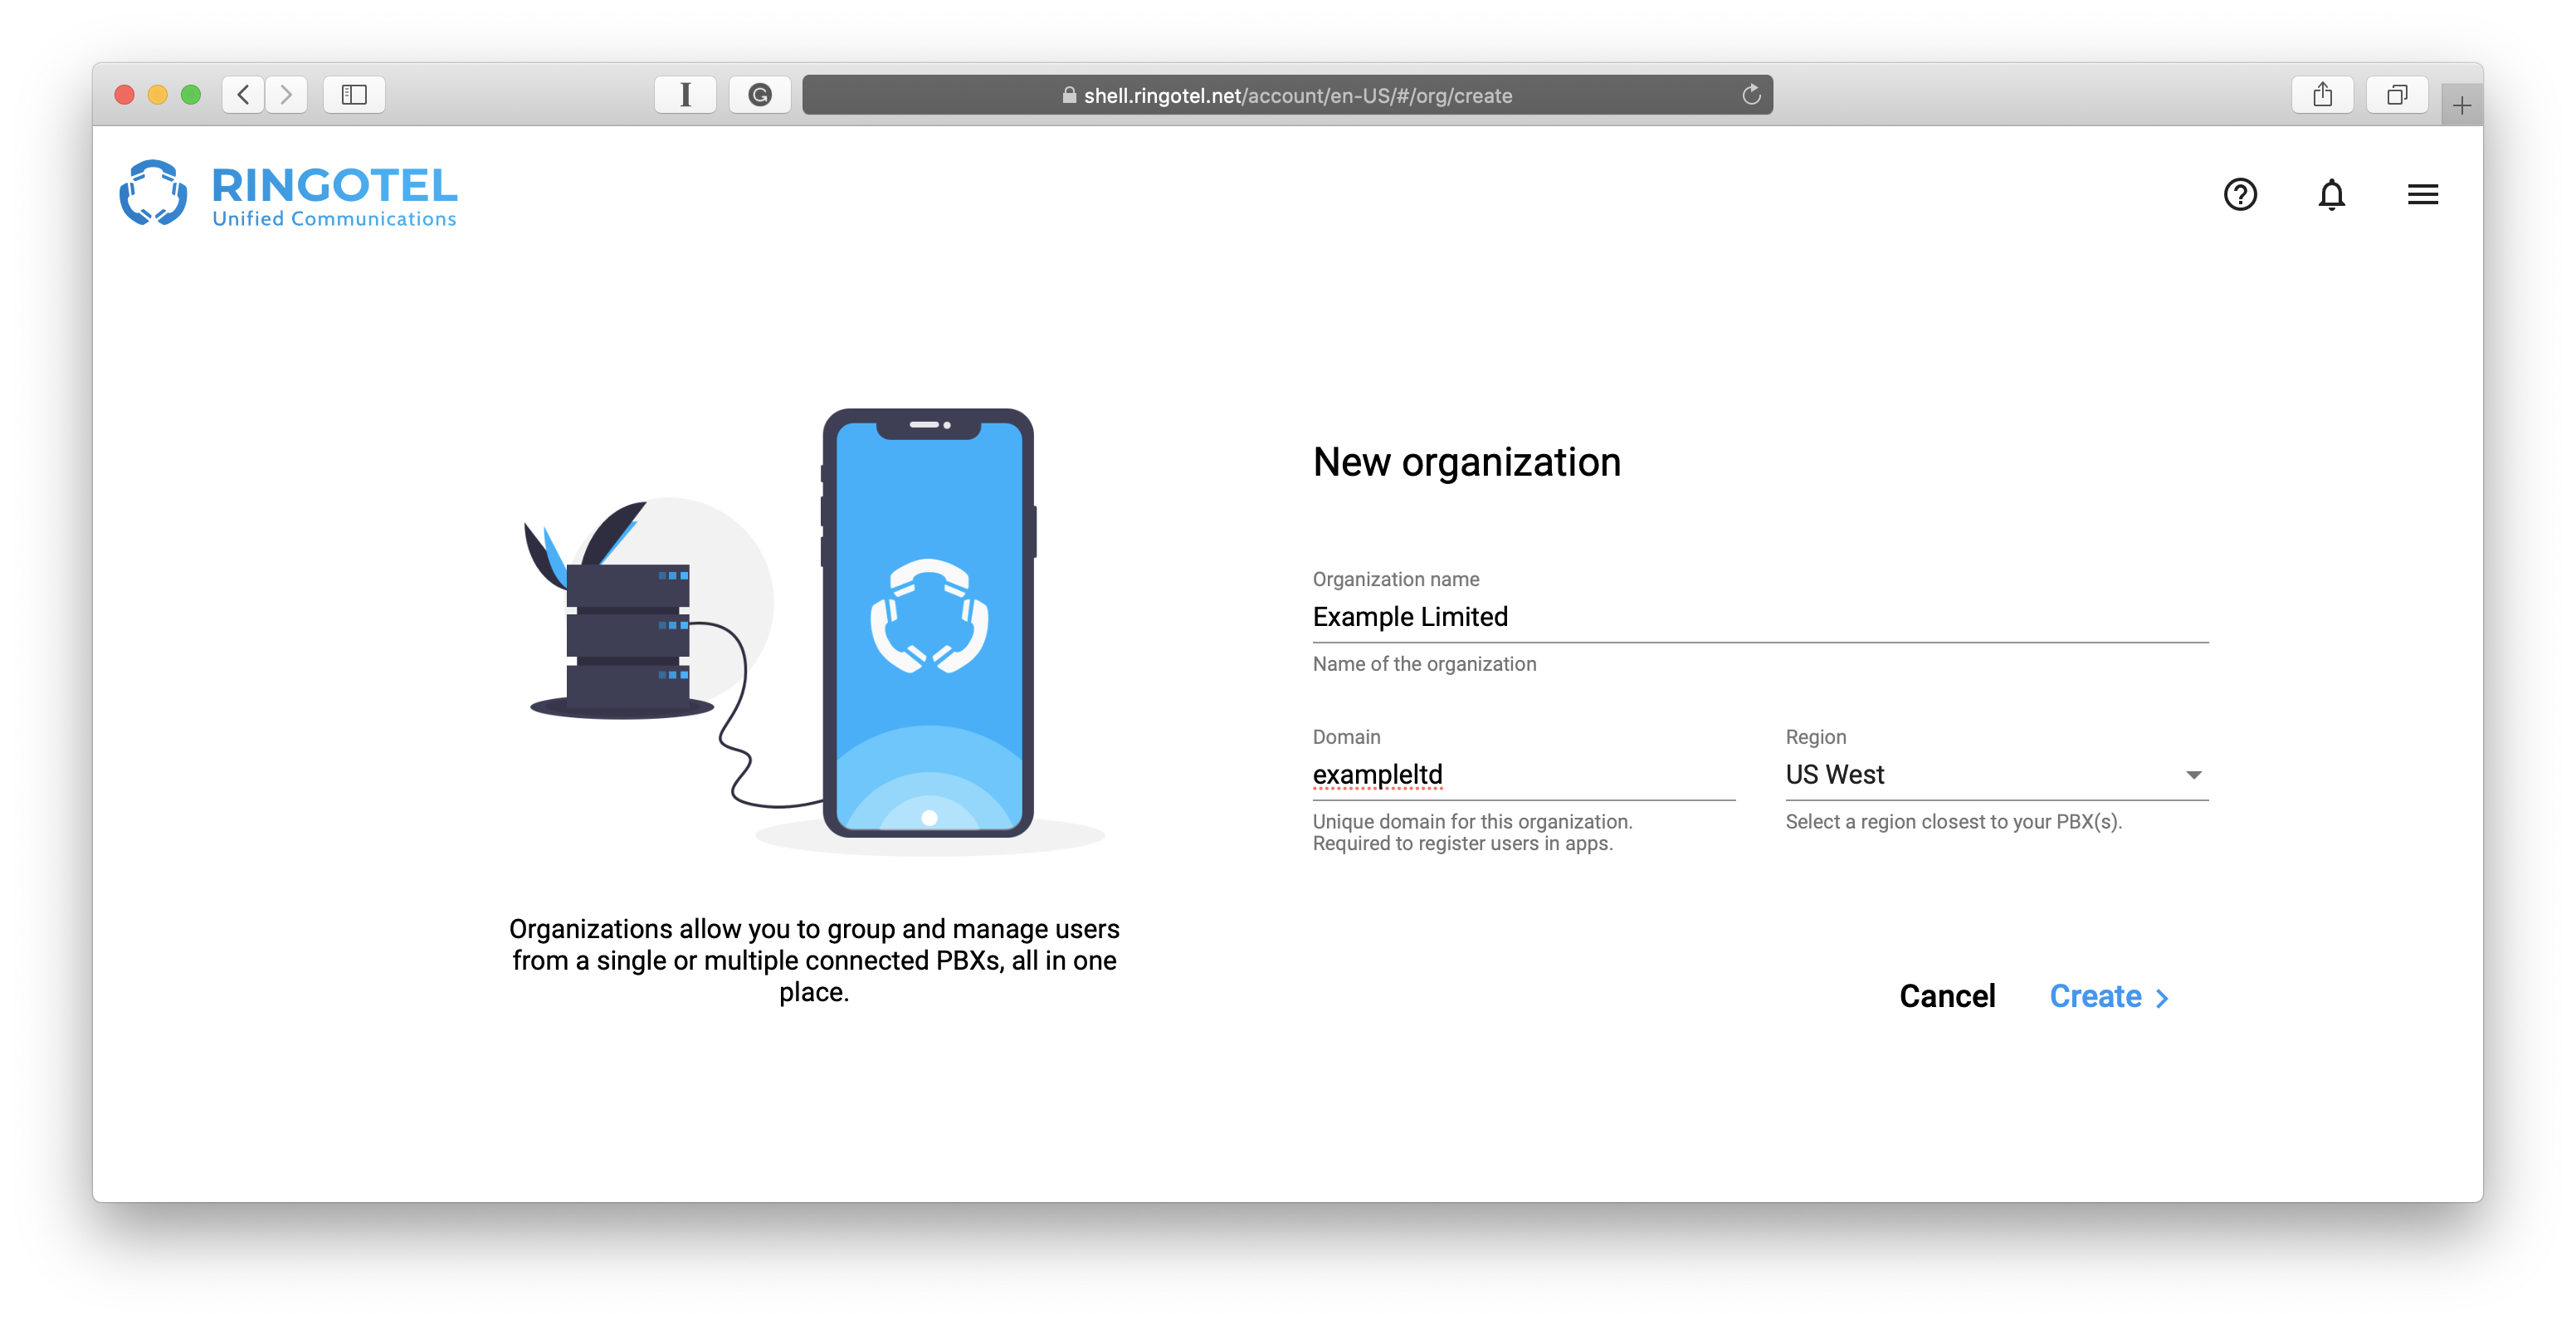
To create an organization, fill in the following fields:
Organization name. The name of the organization.
Domain. Organization’s unique domain, which is required to register users via Ringotel apps.
Region. Select a region which is closest to your PBX.
Click Create.
| Info |
|---|
You can’t change Domain and a Region after an organization is created. |
Step 2. Create a PBX connection.
A PBX connection stores the required settings to register users on your PBX. Within an organization, you can create any number of PBX connections.
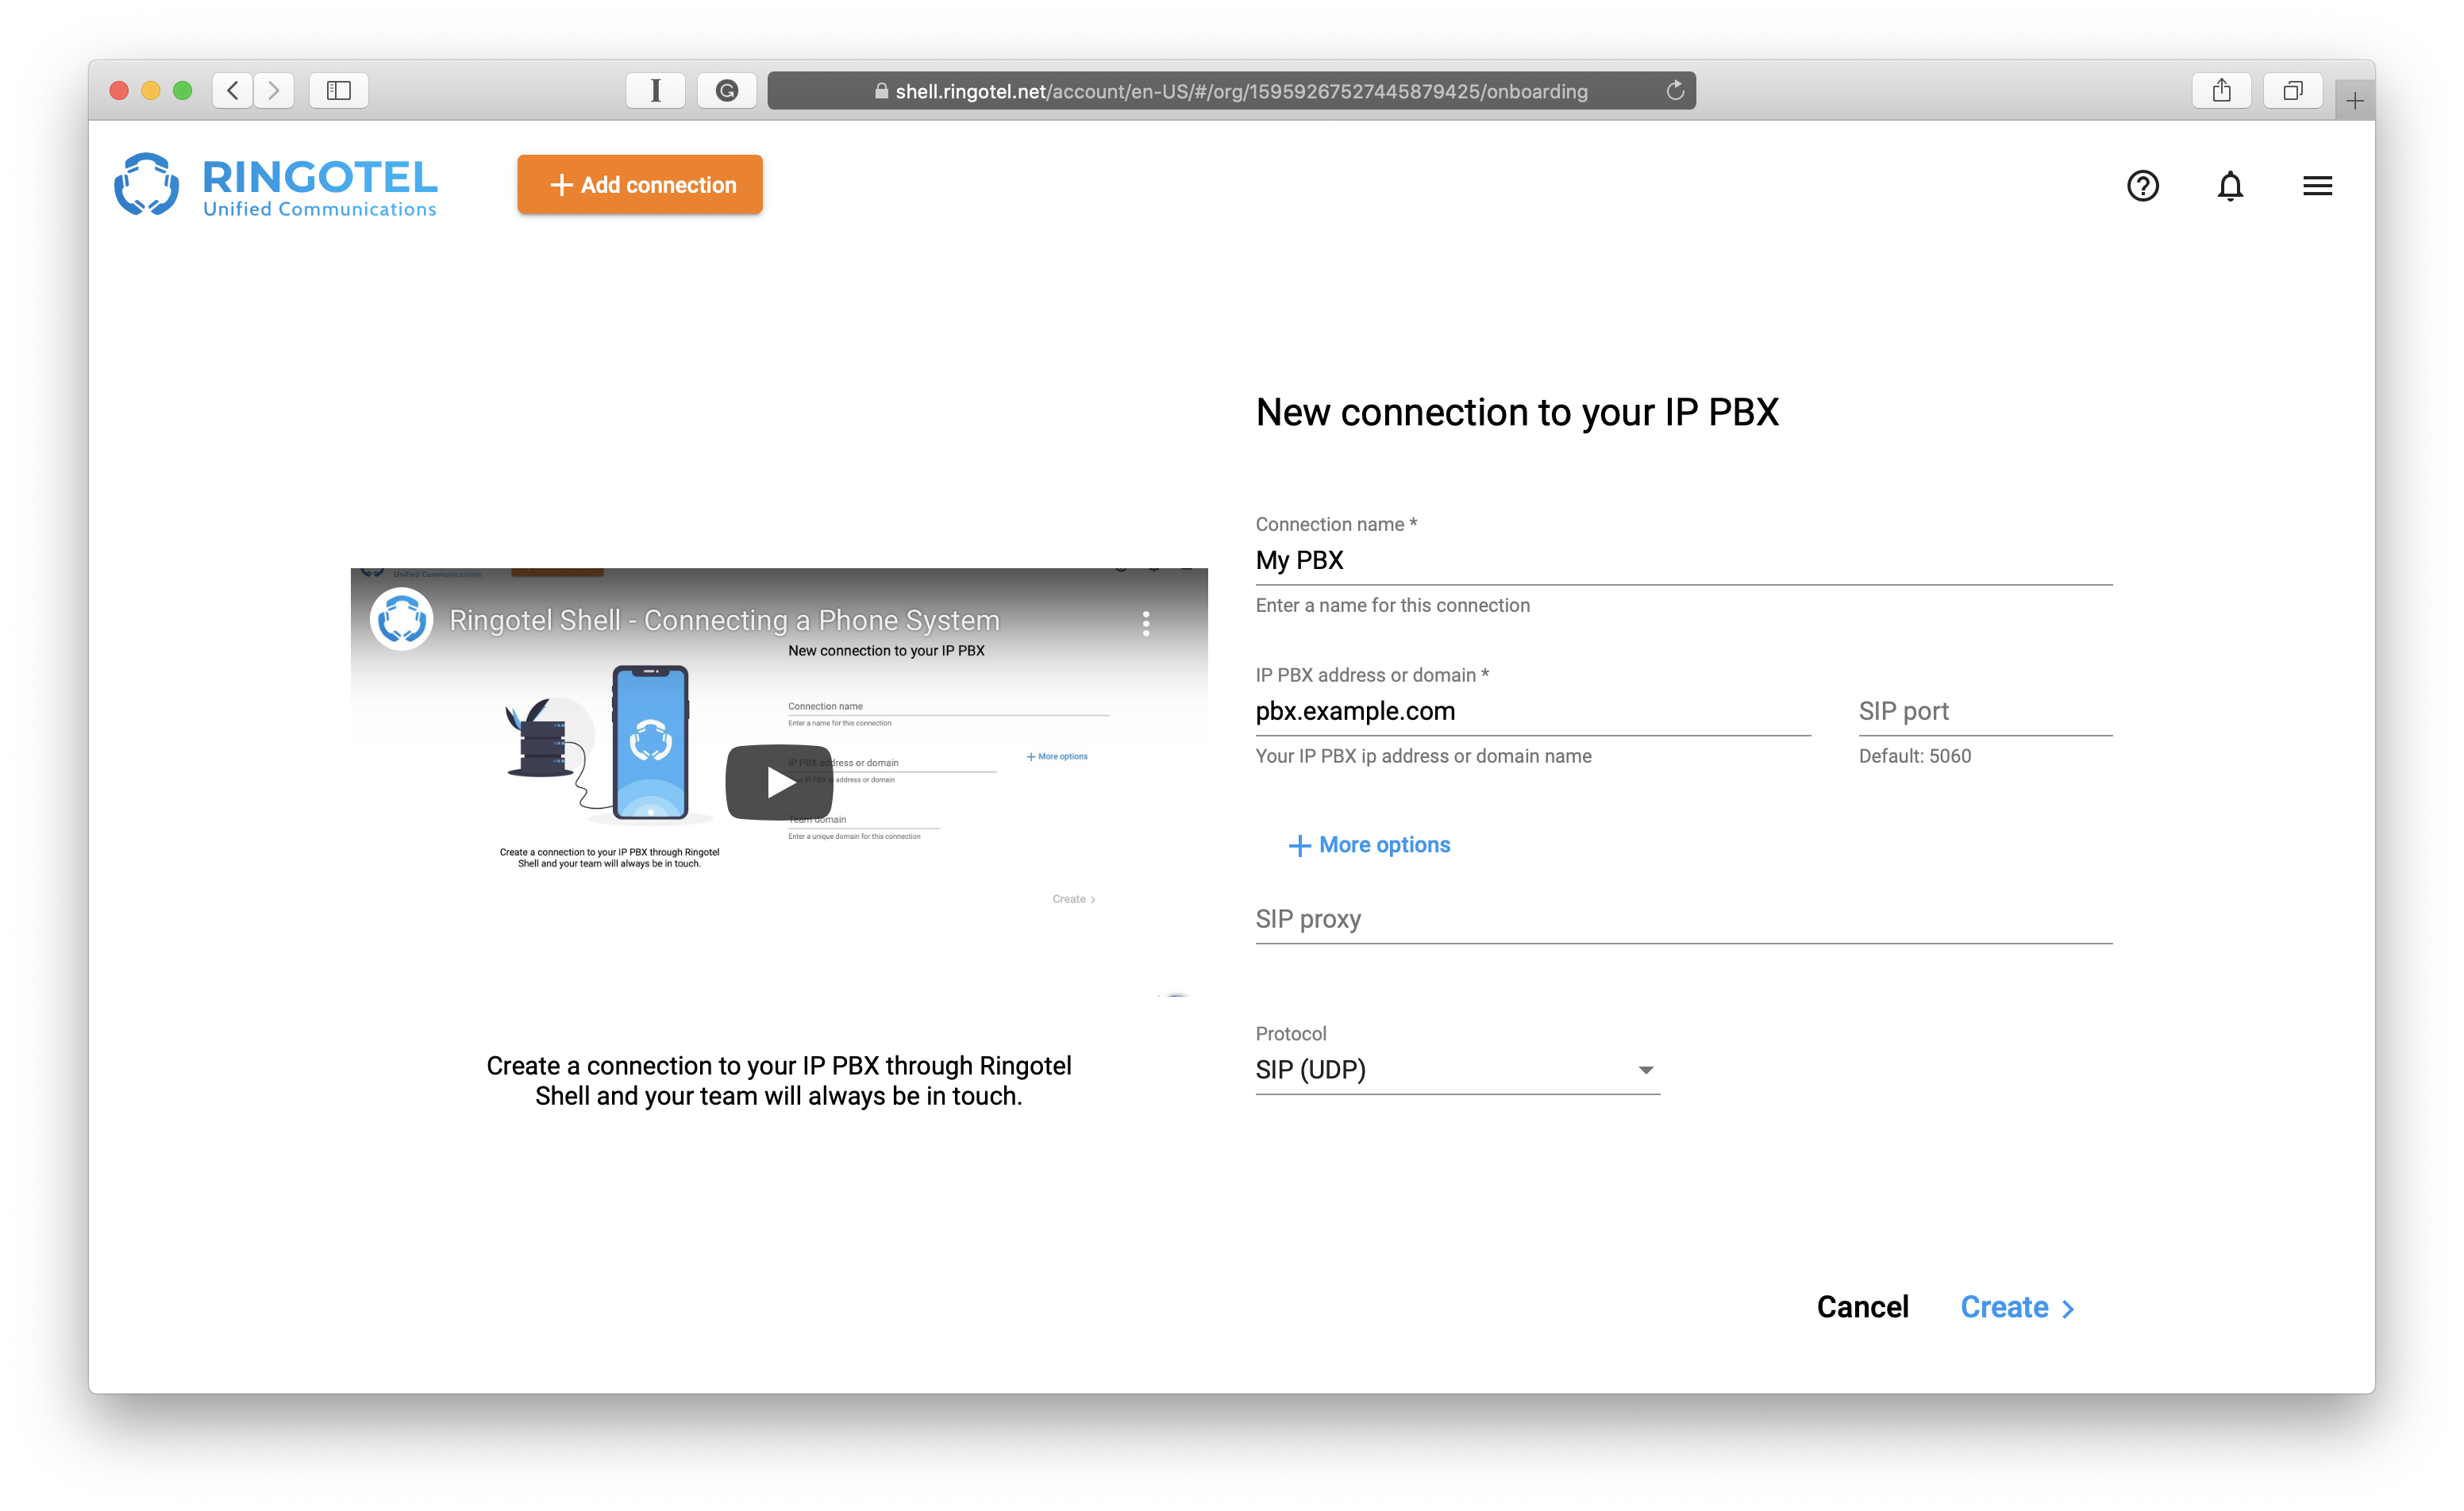
To create one, please fill in the following fields:
Connection name. The name of the connection.
IP address or domain. A public IP address or a domain name of your PBX.
SIP Port. (Optional) A SIP port configured on your PBX. If not set the default port 5060 will be implied.
Click + More options to open additional settings.
SIP Proxy. (Optional) You can specify SIP Outbound Proxy if required.
Protocol. Specify a transport protocol to use for a connection. One of the following is available: UDP, TCP, TLS/SRTP.
Click Create.
Step 3. Creating users.
Before creating users, please make sure that appropriate extensions are already configured on your PBX(s). To create users, you can either do it manually for each user or import all at once via the CSV file.
Creating users manually
In Ringotel Shell, you can create two types of users - activated and unactivated. Activated users are regular users who can register with Ringotel apps and use all the features within the subscription plan. Unactivated users can’t use Ringotel apps, but their contact records will be pulled into the contacts list of all Ringotel users for a quick reach. We charge only for activated users. You can activate users at any time. Please read more here: Activated and Unactivated users
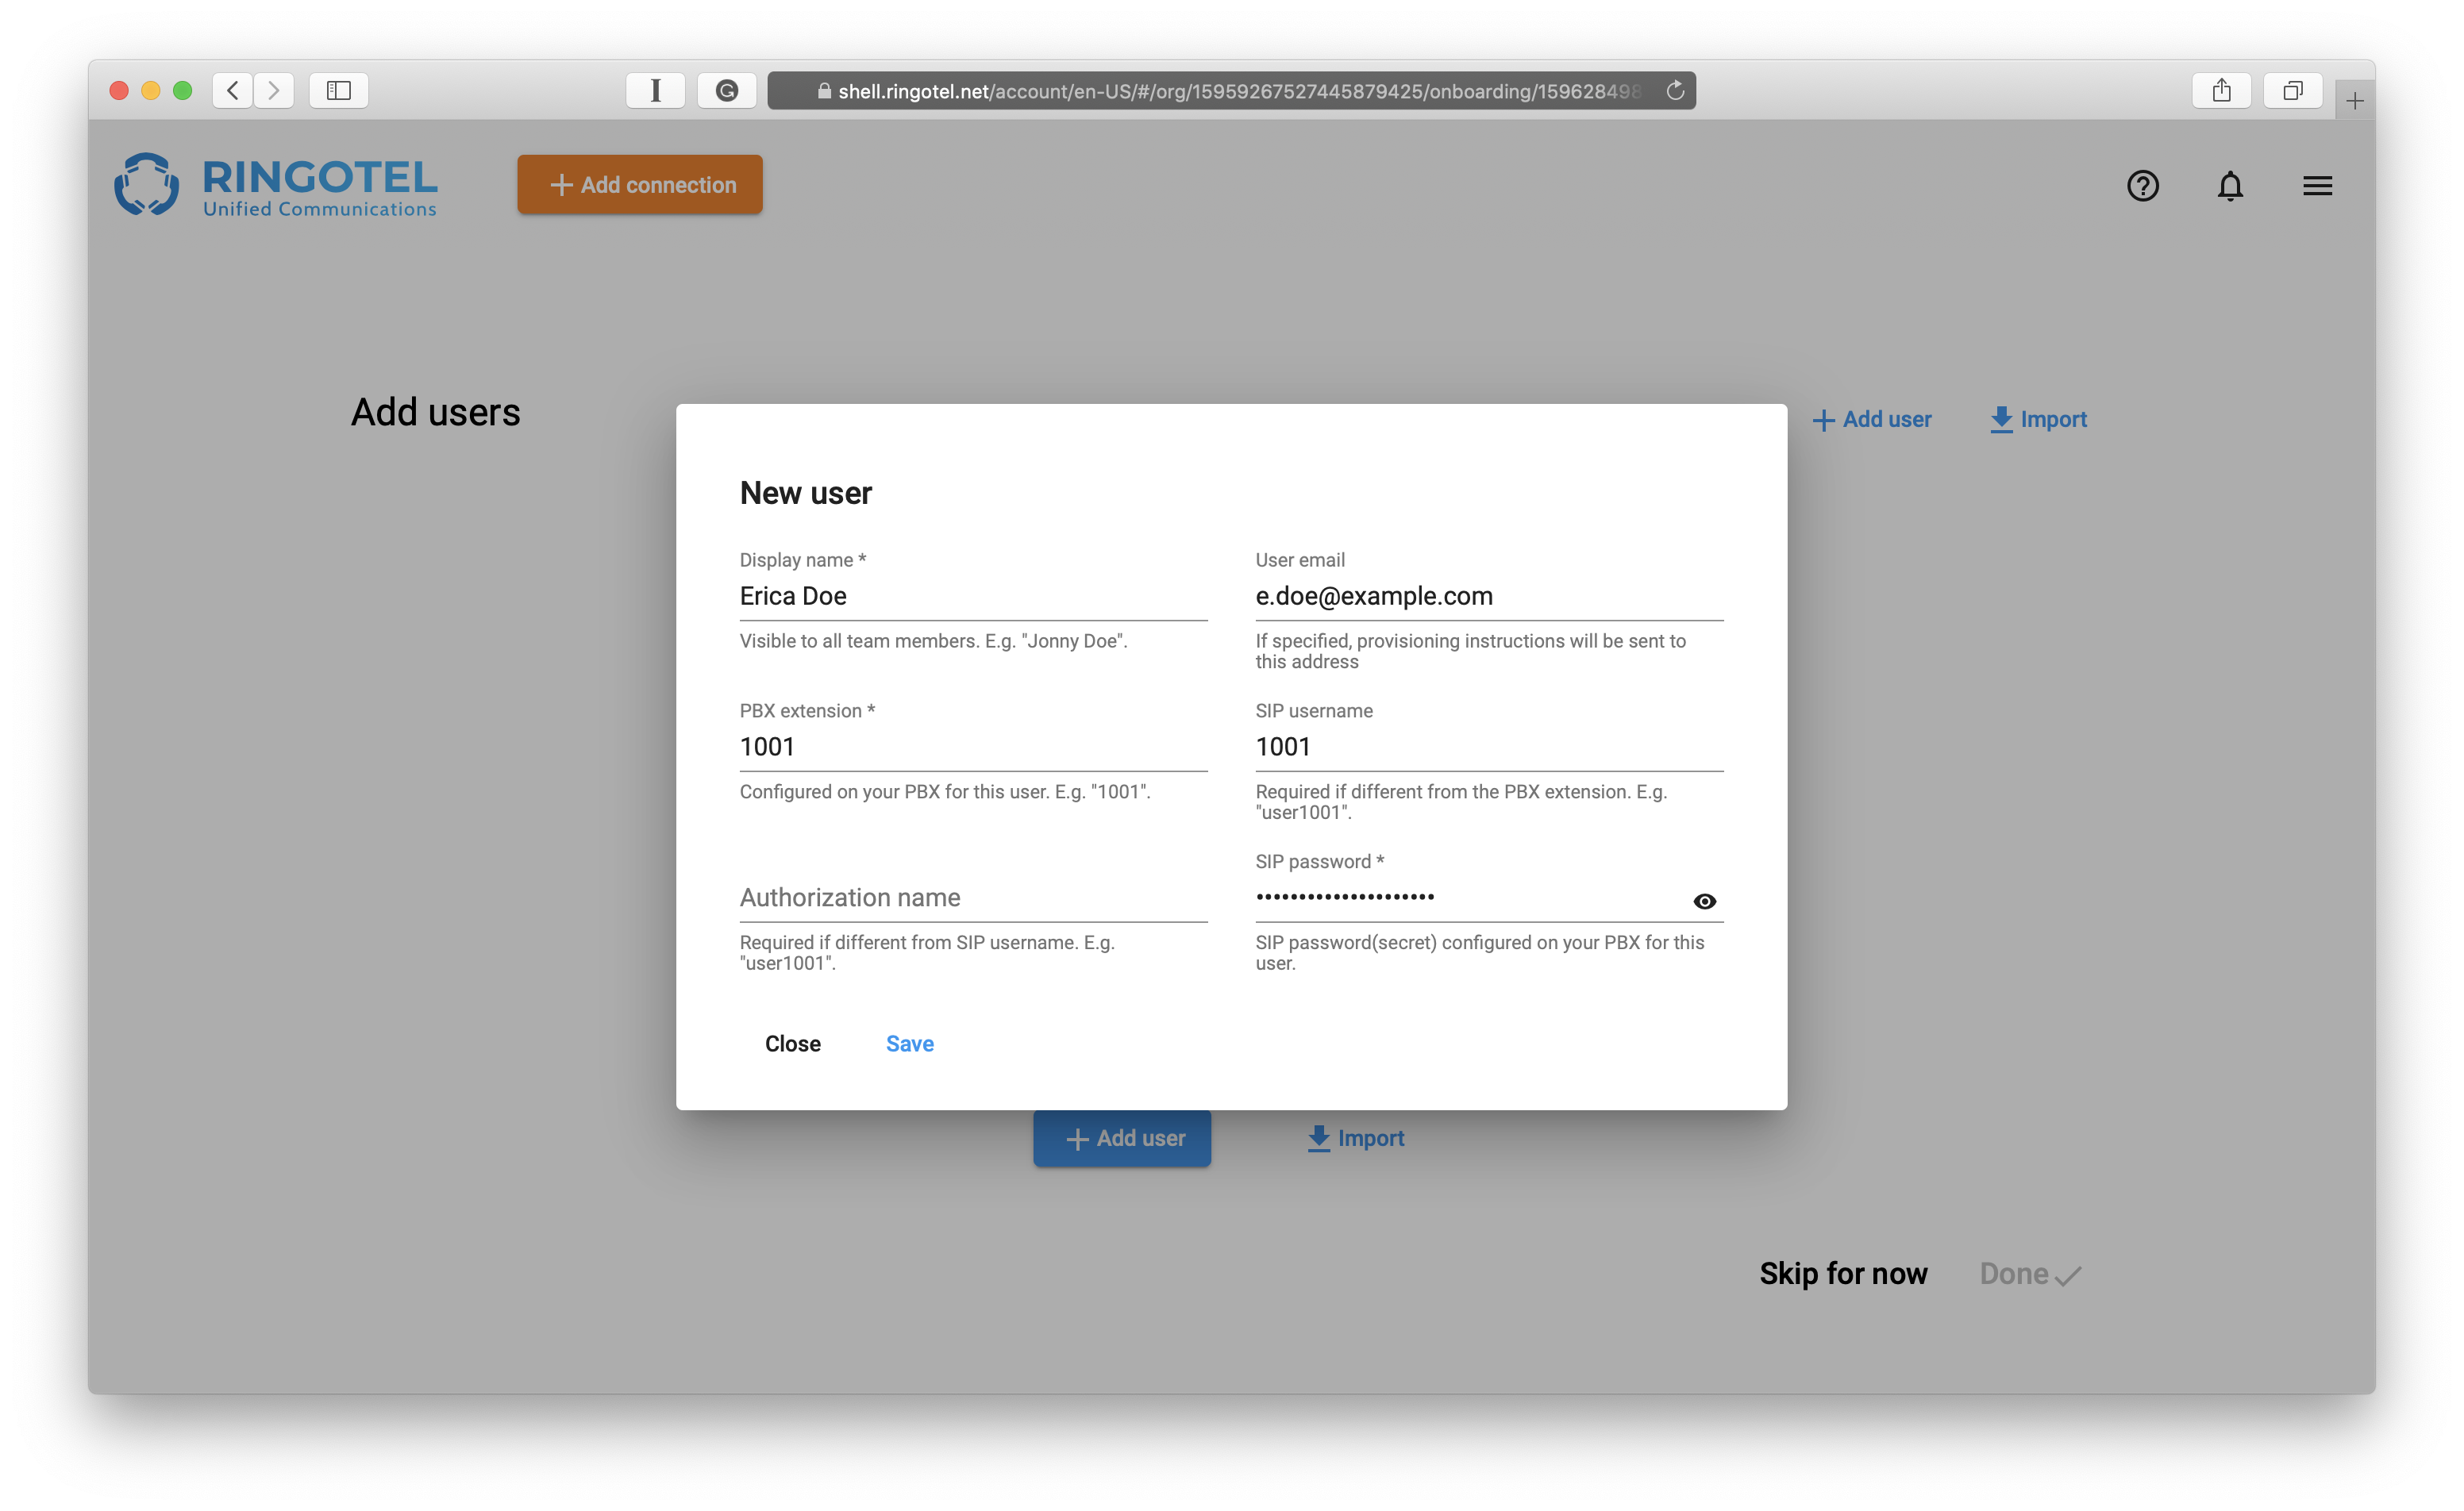
To create a user manually, fill in the following fields:
Click + Add user button.
Display name. The name of the user, visible to all team members within the Organization.
User email. (Optional) An email with provisioning instructions will be sent to the specified address. This will greatly simplify an onboarding process for your team members.
PBX extension. Extension number already configured on your PBX for this user.
SIP Username. (Optional) Required if different from the user’s extension.
Authorization Name. (Optional) Required if different from the SIP Username.
SIP Password. SIP password(secret) configured on your PBX for this user.
Click Save.
If the specified SIP credentials are correct and no errors were returned from the PBX, a user will be created.
Importing users from a CSV file
Please refer to CSV file format for importing users for more info regarding the required format for a CSV file.
Select the format of a CSV file you will use for the import. You can select from the number of preconfigured formats from the selection of phone systems.
Choose a CSV file in the previously selected format.
If a CSV file contains records and the format is correct, you can see how many users will be imported.
Click Save.
If a CSV file contains users email addresses, a message with provisioning instructions will be sent to the specified emails.
| Info |
|---|
Please note that after the is created, a separate password will be generated, which should be used to register users with Ringotel apps. |
Once you finish creating or importing users, click Done.
Resetting users password
In Ringotel Shell, users are registering with Ringotel apps using the auto-generated password. As an administrator, you can see these passwords only once the user is created in the admin portal.
If for some reason you need to reset the password, you can do so by clicking on three dots on the user you want to reset the password for, then select Reset password.

Step 4. Download apps.
Once the users are created, download Ringotel apps on your devices. If you have specified email addresses while creating the users, the links to the apps were included in the provisioning email, along with further instructions. Otherwise, please go to App Store or Google Play and search for Ringotel.
Next steps
Login to the downloaded Ringotel app using the credentials (or just scanning a QR code) specified in the provisioning email or the admin portal.
After you log into the app, a status indicator on the menu icon should be blue, which indicates that you are currently online.
Switch to the Contacts tab to see your team members and their real-time statuses.
To start a conversation, tap on the team member’s contact and select how would like to contact this person - by chat, audio or video call.
For more information on how to get started with Ringotel apps, please refer to Getting started with the iOS app or Getting started with the Android app.
Related articles
| Filter by label (Content by label) | ||||||||||||||||||
|---|---|---|---|---|---|---|---|---|---|---|---|---|---|---|---|---|---|---|
|
| Page Properties | ||
|---|---|---|
| ||
|